|
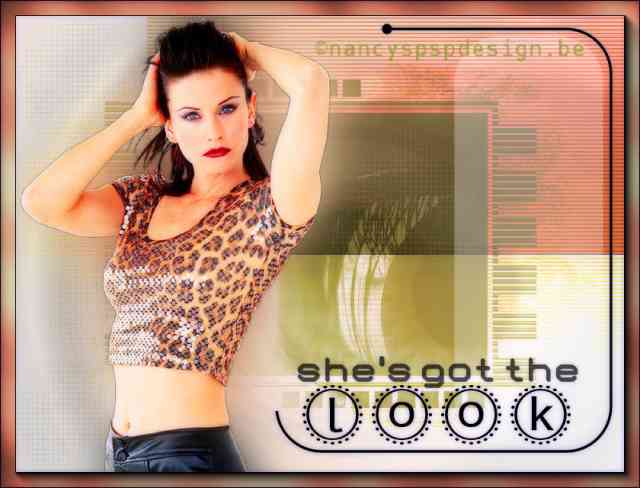
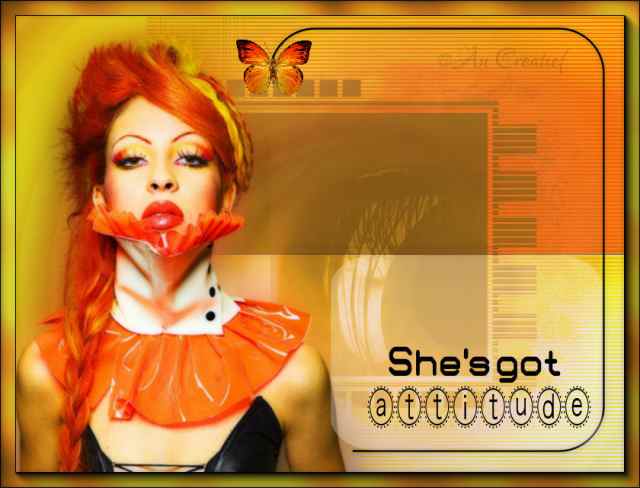
The Look
You can find the
materials here. Supplies: Preparation :
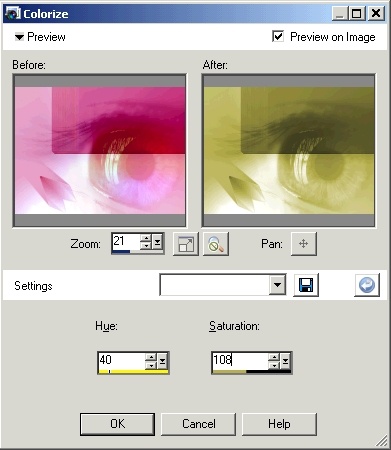
1. File, new image, 800 x 600 pixels transparent 2. Selections, select all 3. Open the background NVBG-blue01, copy and paste into selection 4. Layers, new raster layer 5.Open the image 37 _Eye_800_600.jpg, copy and paste into selection 6. Selections, select none 7. Reduce the opacity to 33% 8. Layers, new raster layer and flood fill the layer with color #C10915 9. Layer palette, blend mode, overlay 10. Layers, merge, merge visible 11. Layers, duplicate 12. Click in your layer palette on the botom layer, Adjust, hue and saturation, colorize as follows
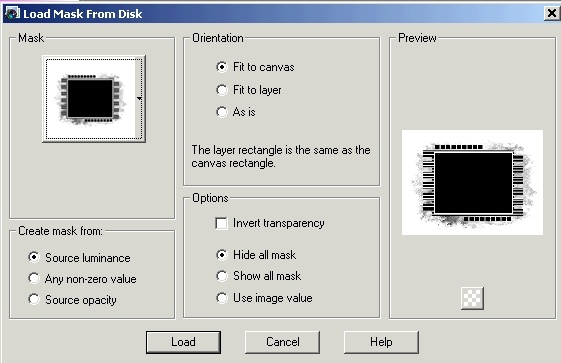
13. Click in your layer palette on the top layer 14. Layers, load/save mask, load mask from disk 15. Find your mask sharlimarMask56 with the following settings
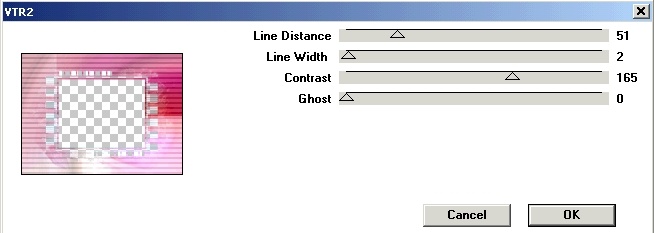
16. Layers, merge, merge group 17. Layer palette, blend mode, Dodge 18. Effects, plugins, Penta.com, VTR2, as follows
19. Effects, edge effects, enhance 20. Layers, new raster layer 21. Put your foreground color to #A39C3F and the background color to #FF7442 22. Take your brush Lynd04-031 003 with the following settings
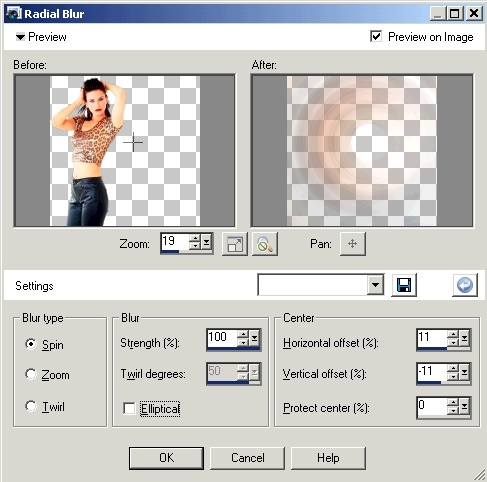
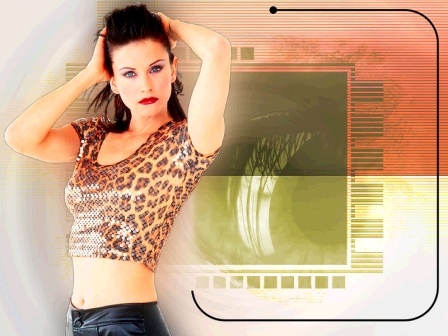
23. Put the brush a few times on the left in the white area 24. Swap foreground color and background color 25. Put the brush a few times on the right in the green area 26. Open the tube 002677045Courtney s Shoot_, copy, paste as new layer and move as on example 27. Duplicate this layer twice 28. Select in your layer palette the bottom layer of these 3 layers 29. Adjust, blur, radial blur with the following settings
30. Select in your layer palette the middle of these three layers 31. Adjust, blur, gaussian blur, radius 32,00 32. Select in your layer palette the top layer 33. Layers, new raster layer 34. Switch your foreground color to black and lock the background color 35. Draw a random rectangle in this layer 36. Put the settings in your tool options palette as follows
37. Selections, load/save selection, load selection from disk, load NVCircle01 and fill with black 38. Selections, invert 39. Take the eraser, hardness and opacity 100 and erase a part of the rectangle as shown below
40. Selections, select none 41. Layers, new raster layer 42. Switch your foreground color and your background color to white 43. Draw a random rectangle 44. Put the settings in your tool options palette as follows
45. Layer palette, opacity, 30% 46. Layers, merge, merge visible 47. Image, add border, 20 pixels, with color #e1755d 48. Select this border with the magic wand tool (Match mode RGB value, Tolerance 0, Feather 0) 49. Effects, plugins, Graphics Plus, Cross Shadow with the following settings
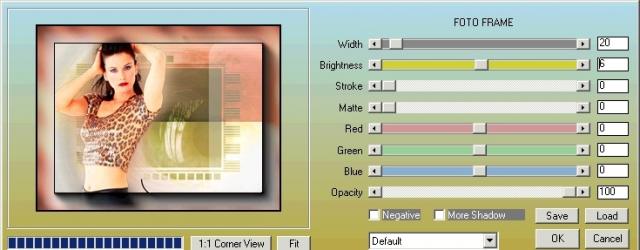
50. Selections, select none 51. Effects, plugins, AAAFrames, Fotoframe with the following settings
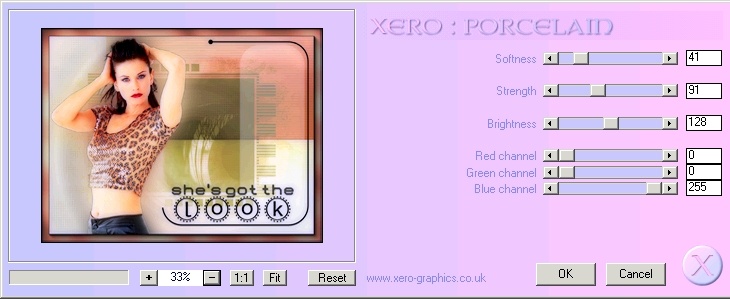
52. Layers new raster layer for your text 53. Activate the text tool and choose the font 01 DigitGraphics, size 40 pixels 54. Lock the foreground color and switch the background color to black 55. Type your text and put it as shown on example 56. Activate the text tool again and choose the font MBats, size 80 pixels 57. Type the second text and put it as shown on example 58. Effects, plugins, Xero porcelain with the following settings
59. Don't forget your signature and save as a jpg
Extra example made by An Creatief
Lesson The Look was written on April 28, 2008
This site is © Copyright Nancyspspdesign.be 2007-2008, All Rights Reserved |
|
| ar |