|
HALLOWEEN
Supplies:
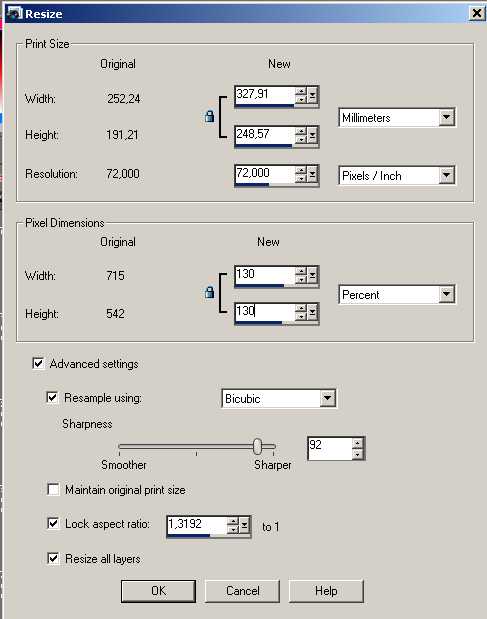
Take the arrow to know where you are in the tutorial. 1. File, new image 800 x 600 pixels transparent 2. Selections, Select all 3. Open the background BackNVhalloween 4. Copy and paste into selection 5. Selections, Select none 6. Open the tube HAUNTED HOUSE 01 MDZ MIST 7. Image, Resize, 130%
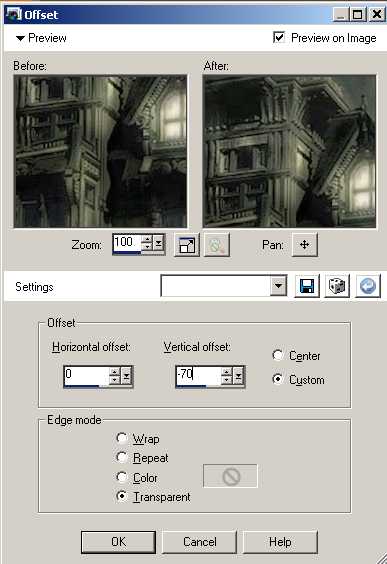
9. Effects, Image effects, Offset 0 / -70
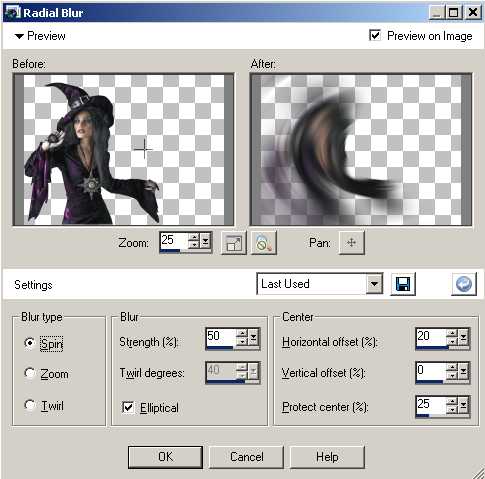
10. Open the tube Tubed_by_monique42_3204 11. Image, Resize, 110% 12. Copy and paste as new layer 13. Effects, Image effects, Offset 160 / 80 14. Layer palette, Opacity 53% 15. Open the tube amberweb-sandi 16. Image, Resize, 175% 17. Copy and paste as new layer 18. Effects, Image effects, Offset 160 / 80 19. Layer palette, Opacity 59% 20. Open the tube TriziaTubed_Dark_Witch 21. Copy, Paste as new layer and put it as shown on example 22. Layers, Duplicate 23. Layers, Arrange, Move Down 24. Adjust, Blur, Radial Blur as follows
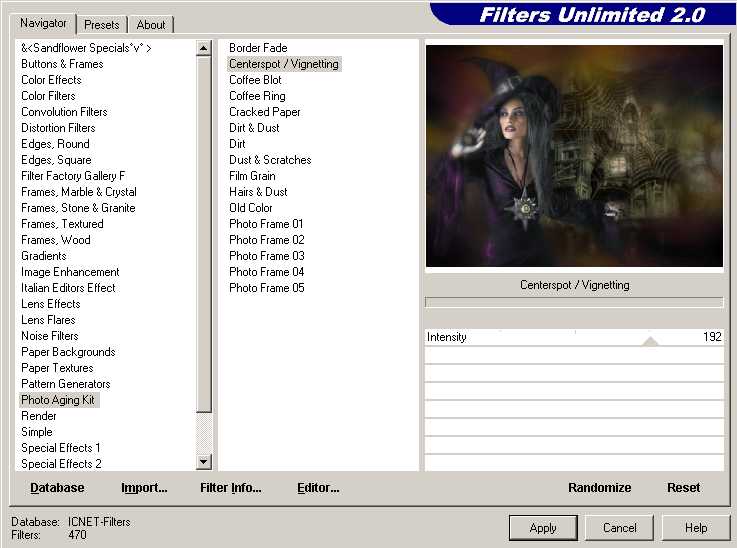
25. Layers, Merge, Merge Visible 26. Effects, Plugins, Filters Unlimited 2.0, Photo Aging Kit as follows
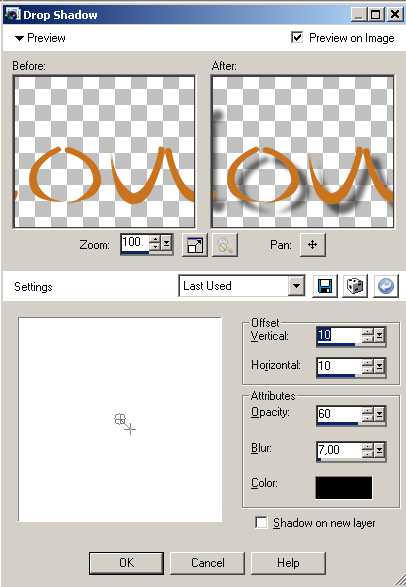
27. Switch your background color to c9731f and lock the foreground color 28. Select the font HONEBONE Ukokkei, size 120 pixels, typ Halloween and position your text 29. Layers, Convert to Raster Layer 30. Effects, 3D Effects, Drop Shadow as follows
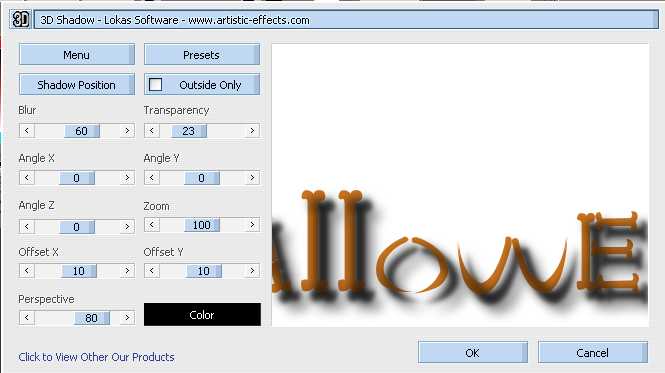
31. Effects, Plugins, Lokas Software, 3D shadow as follows
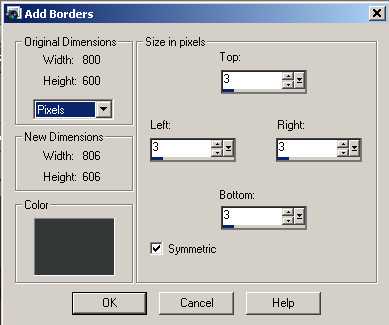
32. Image, Add Borders, 3 pixels, color 353837
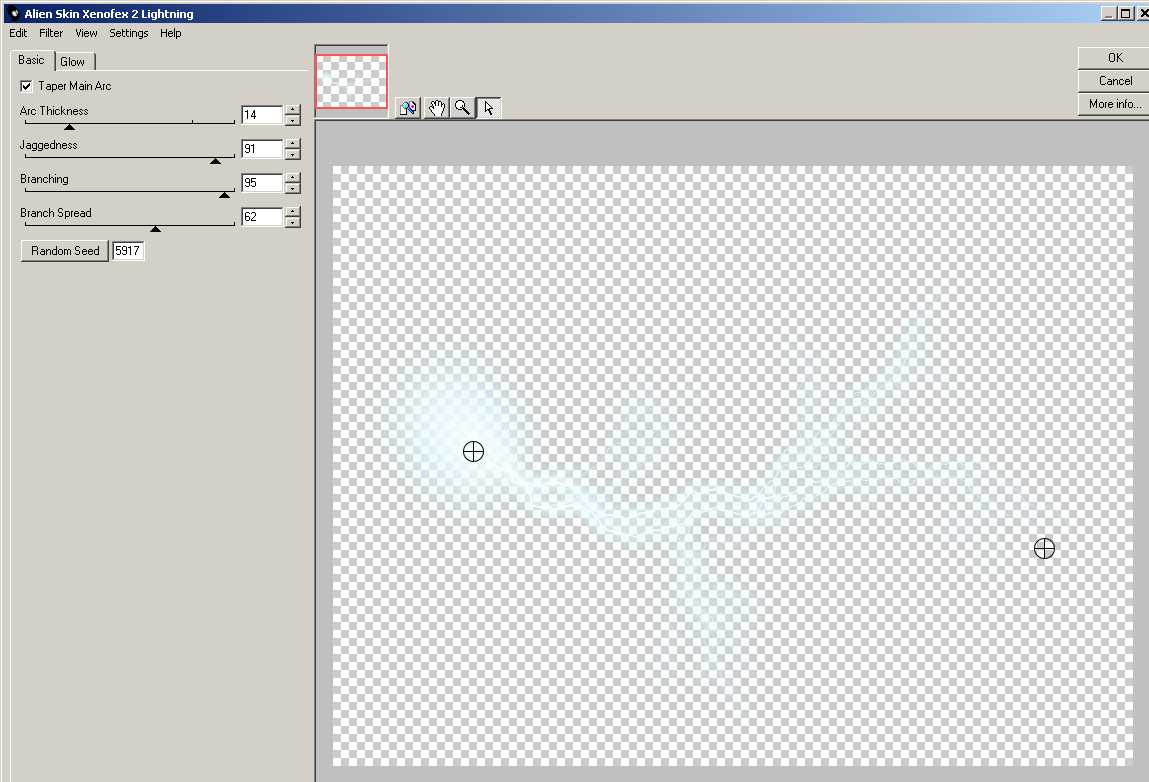
33. Layers, New Rasterlayer 34. Effects, Plugins, Alien Skin Xenofex 2, Lightning as follows
and glow as follows
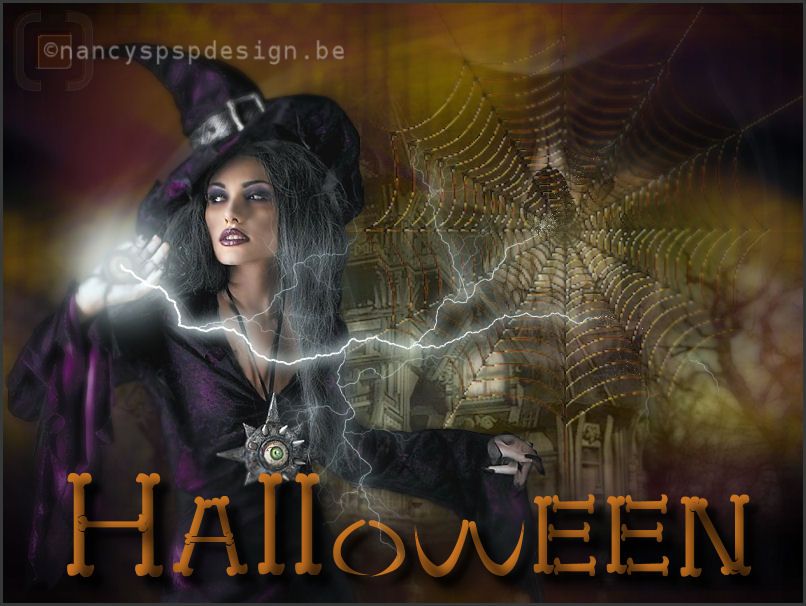
35. Use your Selection Tool K to place the beginning and the end of the lightning at the right place 36. Put your signature This is the result
37. Layers, Merge, Merge Visible 38. Now, we'll prepare
the animation. If you don't have Animation Shop, save as JPG. 39. Edit, Undo 40. Select the Eraser Tool with following settings
and click a few times on the end of the lightning to erase some of it
41. Layers, Merge, Merge Visible 42. Save as PSP Animation Shop File (*.psp) and name it animation4 43. Repeat step 39 to 41, 2 times and name them respectively animation3
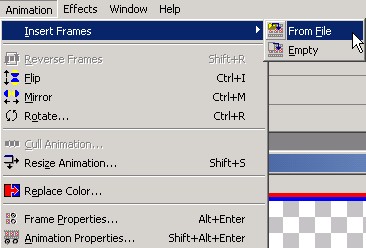
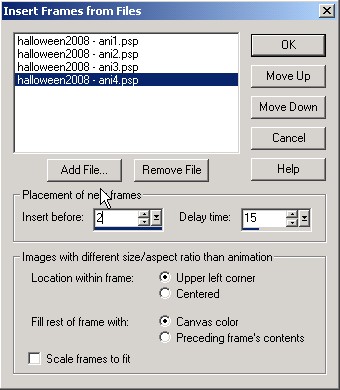
44. Edit, Undo 45. Layers, Delete 46. Save as PSP Animation Shop File (*.psp) and name it animation1 Now, we'll make the animation 47. Start Animation Shop and open animation5 (File, Open) 48. Import the other animations in this sequence 1, 2, 3, 4
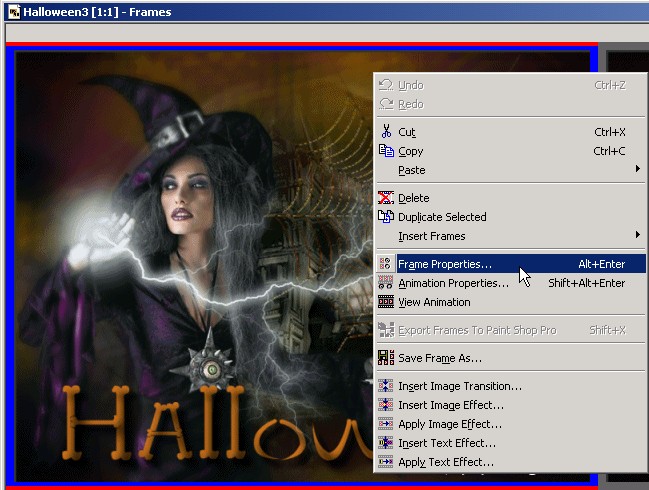
You now have an animation, which we are going to improve. 49. Select the first frame, right click, Frame Properties
50. Change Display time to 15 51. Change in the second frame Display time to 30 and in the other three frames to 15 52. Save as gif. 53. View, Animation
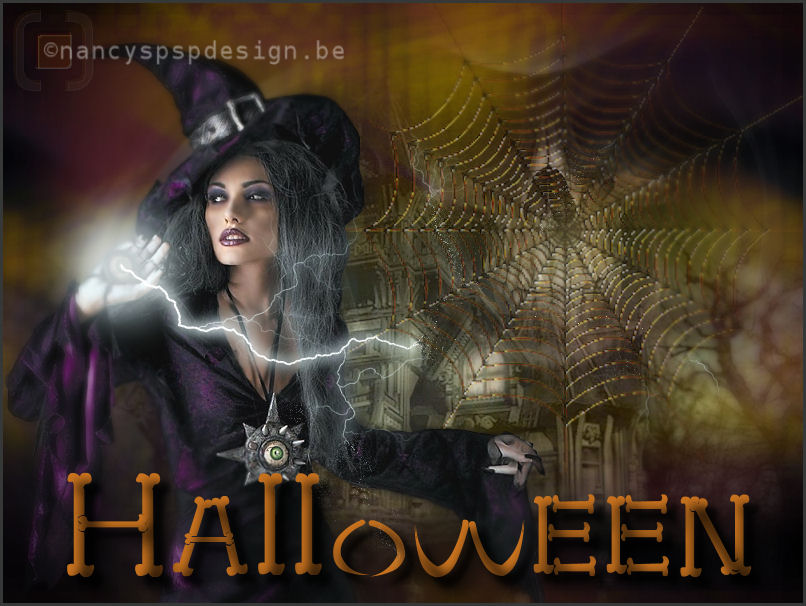
to see the animation
This is an extra example made by An Creatief
Lesson Halloween was written on October 26, 2008
This site is © Copyright Nancyspspdesign.be 2007-2008, All Rights Reserved |
|
| ar |