|
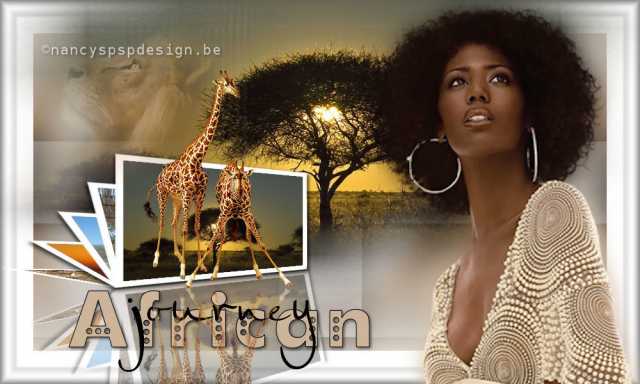
African Journey
For the materials, click here. The tubes are from
BrigitteMtM , angie
and Lut. My special thanks goes to Jos Schoofs who gave me permission to use his wonderful picture dsc5705xg9, shot in Botswana. Supplies: Take the arrow to know where you are in the tutorial. 1. File, New Image 1000 x 600 pixels transparent 2. Put the foreground color to #fbb34e and the background
color to black 3. Fill with foreground color 4. Change foreground color to white 5. Layers, New Raster Layer 6. Draw a random rectangle in this layer and change the settings in your tool options palette as follows
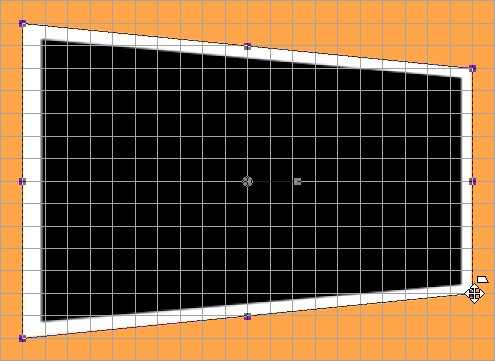
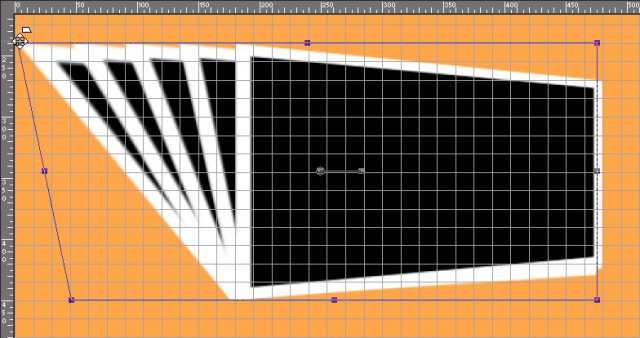
9. Zoom 150% to see the guide lines clearly 10. Pick Tool (K) 11. Mode, Shear
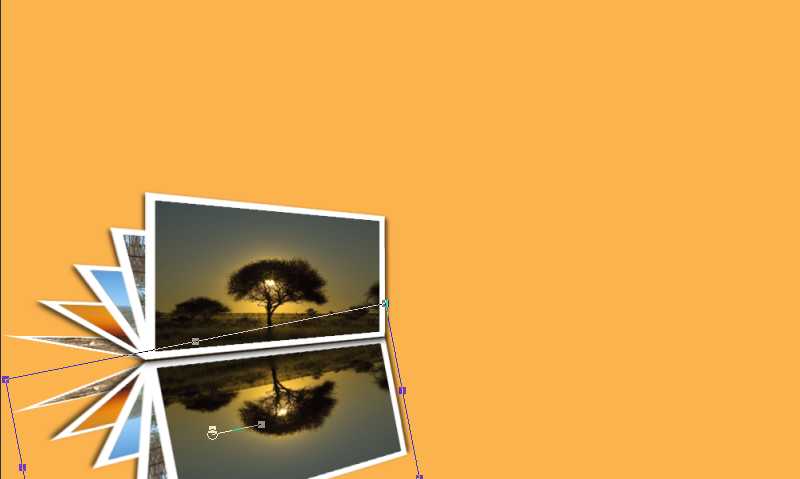
13. Layers, Duplicate 14. Layers, Arrange, Move Down 15. Pull the left top corner 3 blocks to the left
with your pick tool 16. Repeat steps 13 to 15, 3 times more
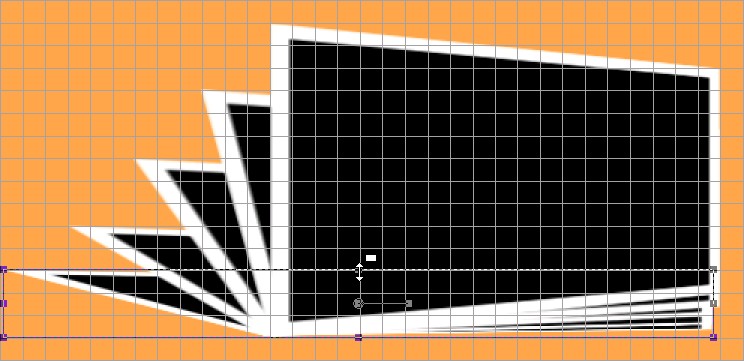
18. As you can see, the other frames are visible
at the bottom.
19. and press on each layer the delete button to
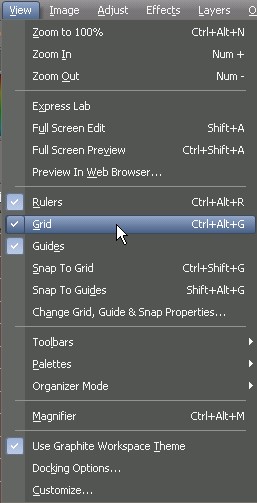
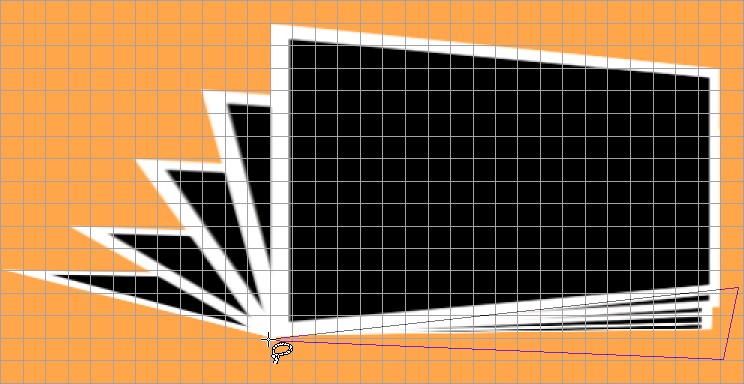
remove them. 20. Selections, Select None 21. Remove the grid as we don't need it anymore:
View, Grid 22. Take the Magic Wand and use it as follows
24. Selections invert, Selections Float, Selections
Defloat 25. Take one of your images, Copy and Paste into
Selection 26. Select in your layer palette the layer above
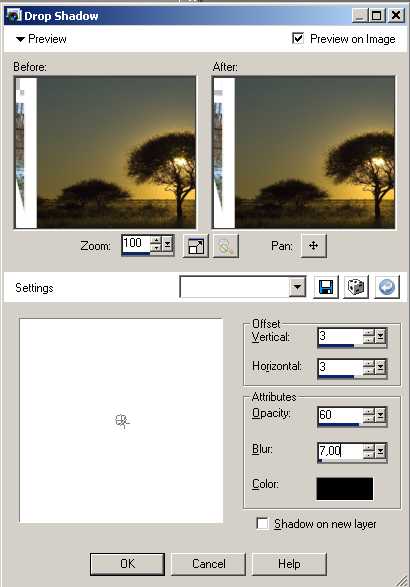
and click in your work on the white border of this frame 27. Repeat step 24 to 26 for each image 28. Insert the picture dsc5705xg9 in the top layer 29. Selections, Select none 30. In your layer palette, switch the Visibility Toggle of the background layer off, Layers, Merge, Merge Visible 31. Effects, 3D effects, Drop Shadow as follows
33. Background layer visible again 34. Duplicate the merged layer 35. Layers, Arrange, Move Down 36. Image, Flip 37. Pick Tool (K), position the image as follows
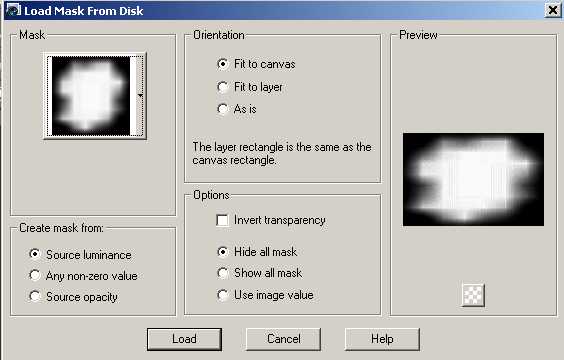
38. ZOOM IN to correctly place the flipped layer 39. Layer palette, Opacity 40% 40. Select the top layer in your layer palette 41. Layers, Merge, Merge Down 42. Take again your picture dsc5705xg9 43. Layers, Load/Save mask, Load mask from disk,
find your mask 179 with the following settings
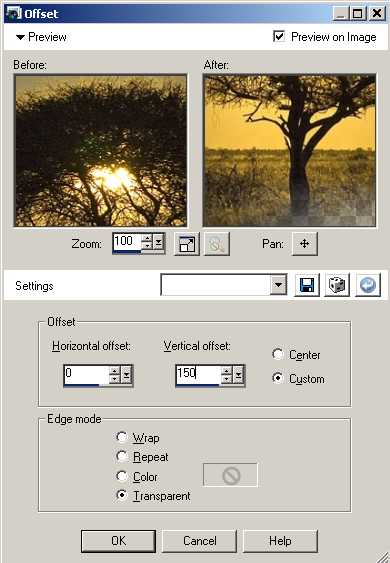
44. Layers, Merge, Merge Group 45. Copy and switch back to your work 46. Layers, New Raster layer 47. Selections, Select All and Paste into Selection 48. Layers, Arrange, Move Down 49. Effects, Image Effects, Offset, horizontal 0, vertical 150
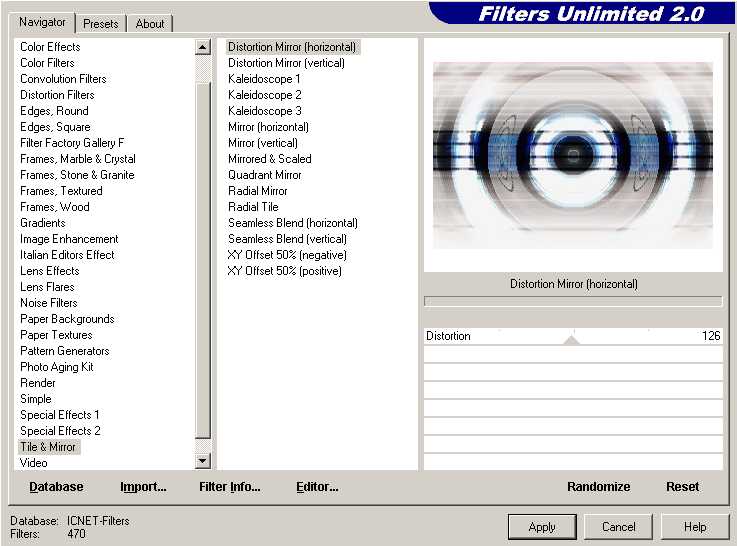
51. Open background E013043 52. Effects, Filters Unlimited, Tile and mirror, Distortion mirror (horizontal)
55. Edit, Copy 56. Go to your work and Paste into Selection 57. Layers, Arrange, Move Down 58. Layers, New Raster layer 59. Open background BackgNVafrican, Copy and Paste
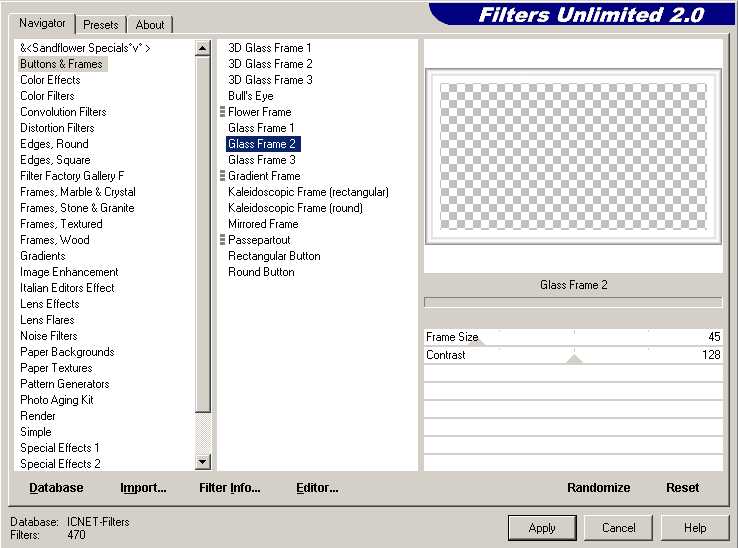
into Selection 60. Selections, Select None 61. Layer palette, Opacity 70% 62. Layers, New Raster layer 63. Effects, Filter Unlimited, Buttons and frames, Glass Frame 2
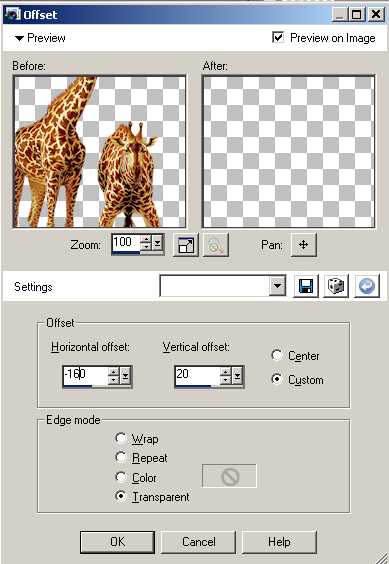
65. Open the tube Mtm_Dieren-96- 66. Image, Resize 50% 67. Edit, Copy, Paste as New Layer 68. Effects, Image Effects, Offset, horizontal -160, vertical 20
70. Layers, Arrange, Move Down 71. Image, Flip 72. Effects, Image Effects, Offset horizontal 0,
vertical -295 73. Layer palette, Opacity 45% 74. Open the tube Lut Dame 13 4-10-2008 75. Image, Resize, 175% 76. Copy, Paste as New Layer and put it as shown
on example 77. Layers, Duplicate 78. Layers, Arrange, Move Down 79. Adjust, Blur, Gaussian Blur, 15 80. Open the tube animo_maj0408 81. Image, Mirror 82. Image, Resize, 70% 83. Copy, Paste as New Layer and put it as shown
on example 84. Layer Palette, Opacity 40% 85. Open wordart AfricanJourney 86. Copy and Paste in your work, put it as shown
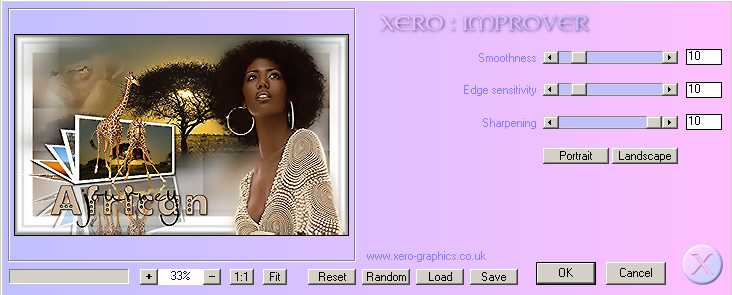
on example 87. Layers, Merge, Merge All 88. Effects, Xero improver, 10-10-10 Landscape
Extra example made by An Creatief
Lesson African Journey was written on October 16, 2008
This site is © Copyright Nancyspspdesign.be 2007-2008, All Rights Reserved |
|
| ar |